Manual Sync
After completing Getting Started, click the cloud icon (sidebar on PC, or find the icon in the bottom hamburger menu on mobile) to open the dashboard. Find the [Quick Actions] - [Sync Browser] button and click it to open the sync browser.
Interface Introduction
Section titled “Interface Introduction”Navigation bar: Located at the top, it provides two action buttons. Click the Refresh button to re-fetch the cloud file list; click the Filter button to filter files by sync status.
File explorer: A file tree listing files and folders for viewing and management. The icon at the end of each row indicates the file’s sync status: an upload icon means pending upload, a download icon means cloud-only, and a cloud-with-checkmark means synced. Click the icon to perform the corresponding upload or download.
Status bar: Located at the bottom, it shows the username and cloud storage capacity.
Filter Files
Section titled “Filter Files”Click the Filter button in the Navigation bar to quickly filter files by sync status:
| Mode | Description |
|---|---|
| All | Show all files |
| Unsynced | Show only unsynced files |
| Cloud only | Show only files that exist in the cloud |
| Local changes | Show only files with local changes (created/modified/deleted) |
| Conflict | Show only conflicted files |
| Ignored | Show only ignored files |
Upload Files
Section titled “Upload Files”In the File explorer, select the file to upload and click the upload icon next to it to upload the file to cloud storage.
In the File explorer, select the folder to upload and click the upload icon next to it to upload the folder to cloud storage.
The icon disappears when the upload is successful.
Download Files
Section titled “Download Files”In the File explorer, select the file to download and click the download icon next to it to download the file to your local device.
In the File explorer, select the folder to download and click the download icon next to it to download the folder to your local device.
The icon disappears when the download is successful.
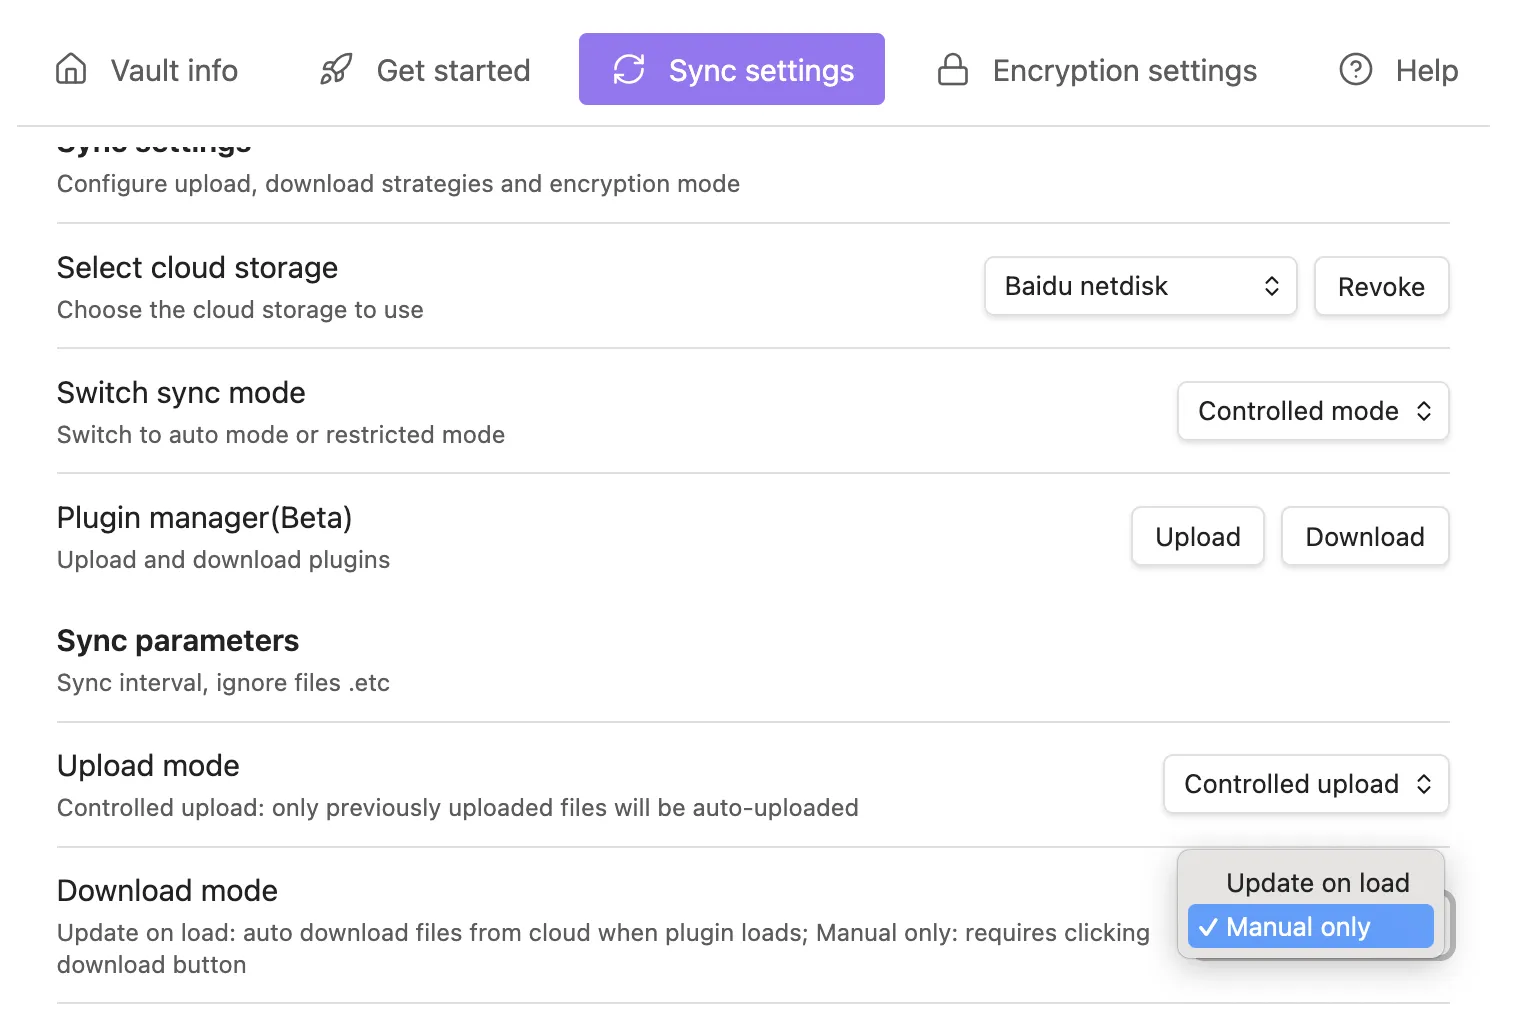
Sync on Load When loading or refreshing the sync browser, pending files will be automatically downloaded from the cloud. This reduces the need for manual operations.
Get Cloud File List
Section titled “Get Cloud File List”Click the Refresh button in the Navigation bar to open a menu:
Refresh: Re-fetch the cloud file list.Force refresh from cloud: Ignore the local cache and force-fetch the latest complete file list from the cloud (may be slower on first use or with many files).
Delete Files
Section titled “Delete Files”In the File explorer, select the file to delete, right-click (long-press on mobile) to bring up the menu, and select Delete to remove the file from both local storage and cloud storage.
In the File explorer, select the folder to delete, right-click (long-press on mobile) to bring up the menu, and select Delete to remove the folder from both local storage and cloud storage.
Example 1: Sync Modified Files from PC to iPad
Section titled “Example 1: Sync Modified Files from PC to iPad”Steps:
- Modify the file on your PC.
- Click the cloud icon to open the dashboard, then click
Sync BrowserinQuick Actions. - In the
File explorer, select the modified file and click the upload icon next to it to upload the file to cloud storage. - Open the dashboard on your iPad and click
Sync Browser. - In the
File explorer, select the file to download and click the download icon next to it (if the download icon doesn’t appear, clickRefreshto get the latest cloud list) to download the file to your iPad.