Getting started
IMPORTANTNote:
- Please disable other synchronization plugins when using Sync Vault, including the official Obsidian Sync.
- Do not place your vault in synchronization directories such as iCloud Sync Folder or Baidu Sync Space while using Sync Vault; otherwise, unpredictable errors may occur.
- It is recommended to disable proxies during cloud disk synchronization, as proxies may cause abnormal cloud disk access.
Installation
Section titled “Installation”Install Sync Vault CE from the Obsidian Community Plugins market.
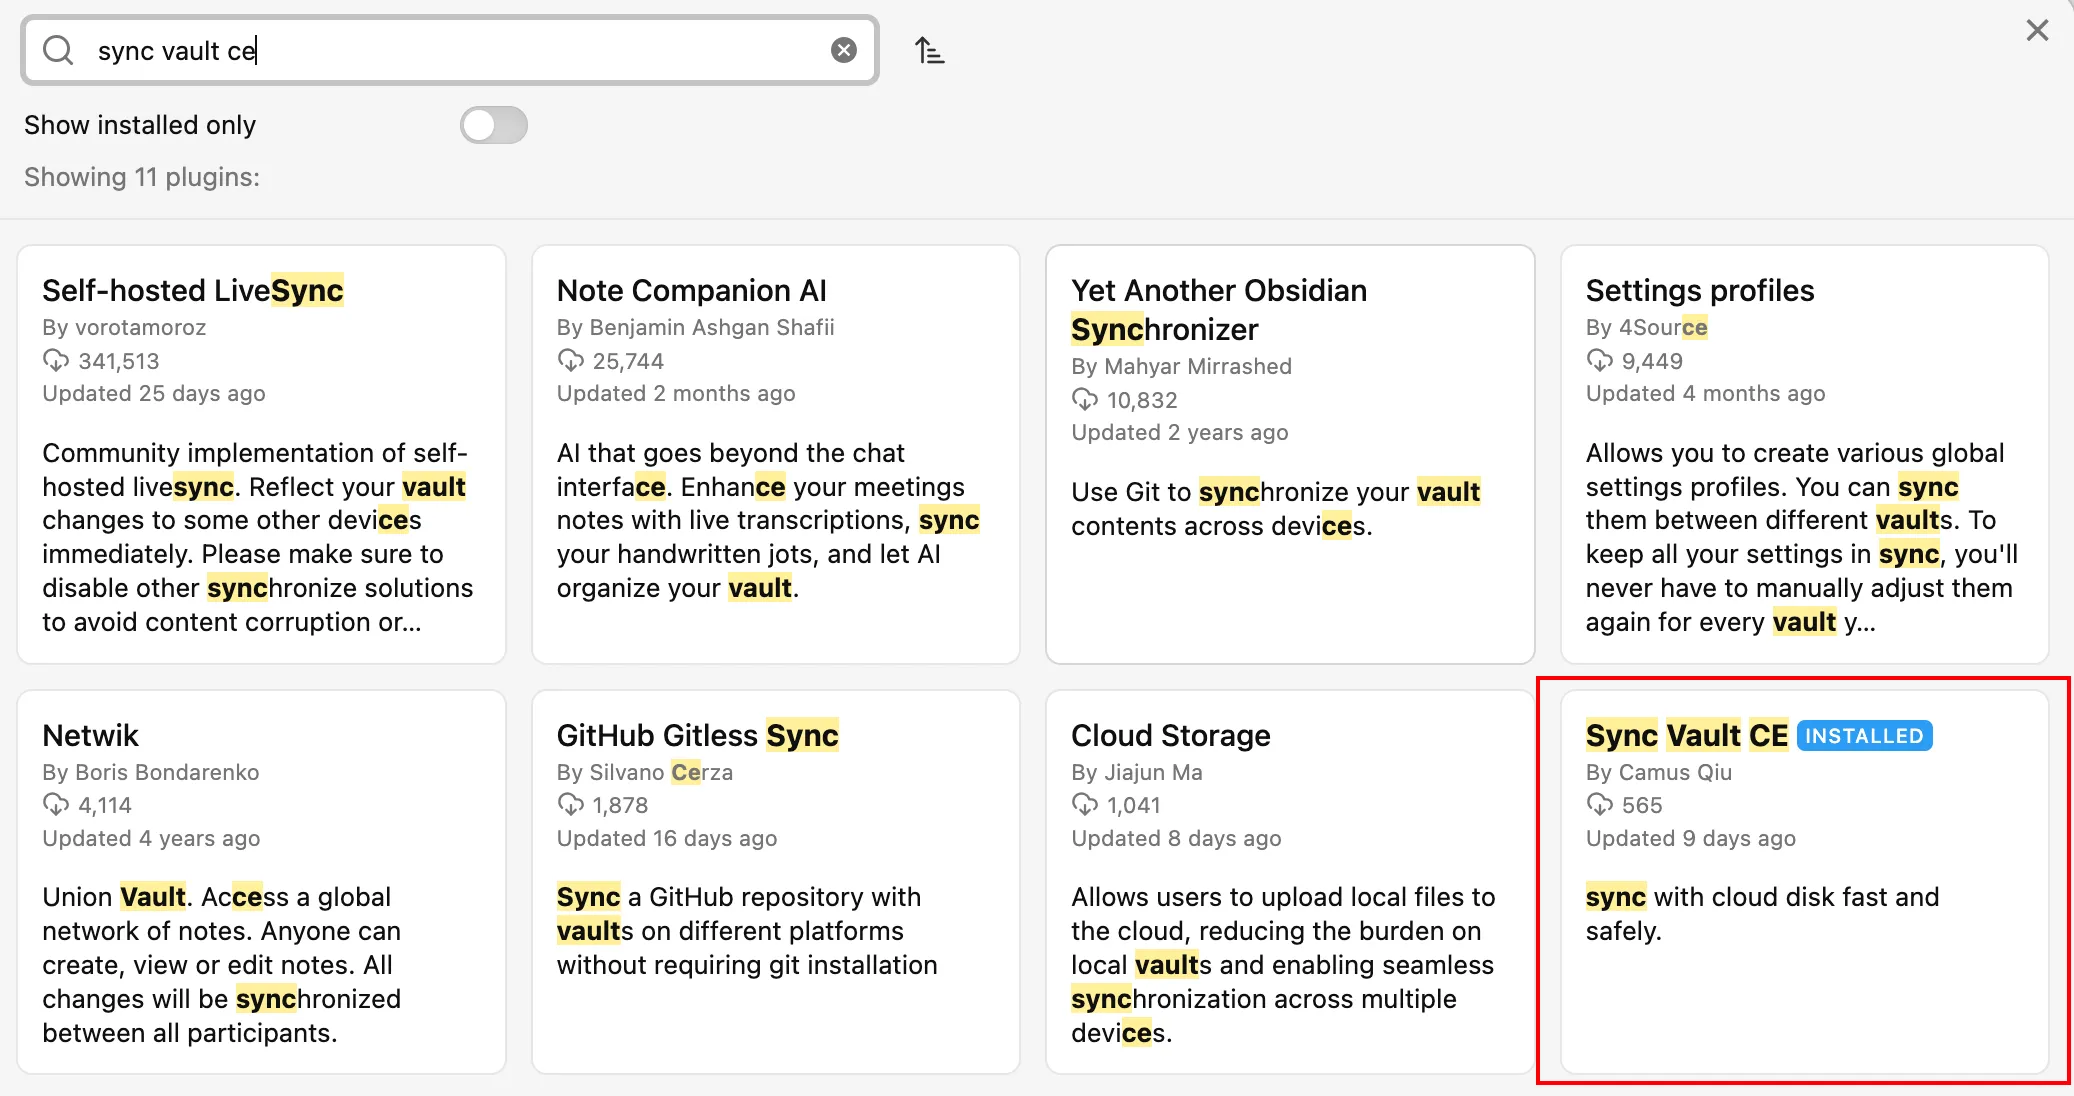
The interface after a successful setup is shown in the image below:

NOTEClick here to obtain an activation code.
Quick Setup
Section titled “Quick Setup”Authorize
Section titled “Authorize”- Navigate to the plugin settings page.
- Click the “Get Started” tab.
- Click the “Start Authorization” button and follow the on-screen instructions to complete the cloud disk authorization.
TIPThe Welcome Page After successful authorization, you will be redirected to the Welcome Page. Follow the steps described there or as detailed below.
Open Dashboard
Section titled “Open Dashboard”Find the ☁️ ribbon icon in the left sidebar (for mobile users, find the ’≡’ menu in the bottom-right corner and click it). Once clicked, the Live Sync Status Dashboard will be displayed. This view provides a visual map of your synchronization network:
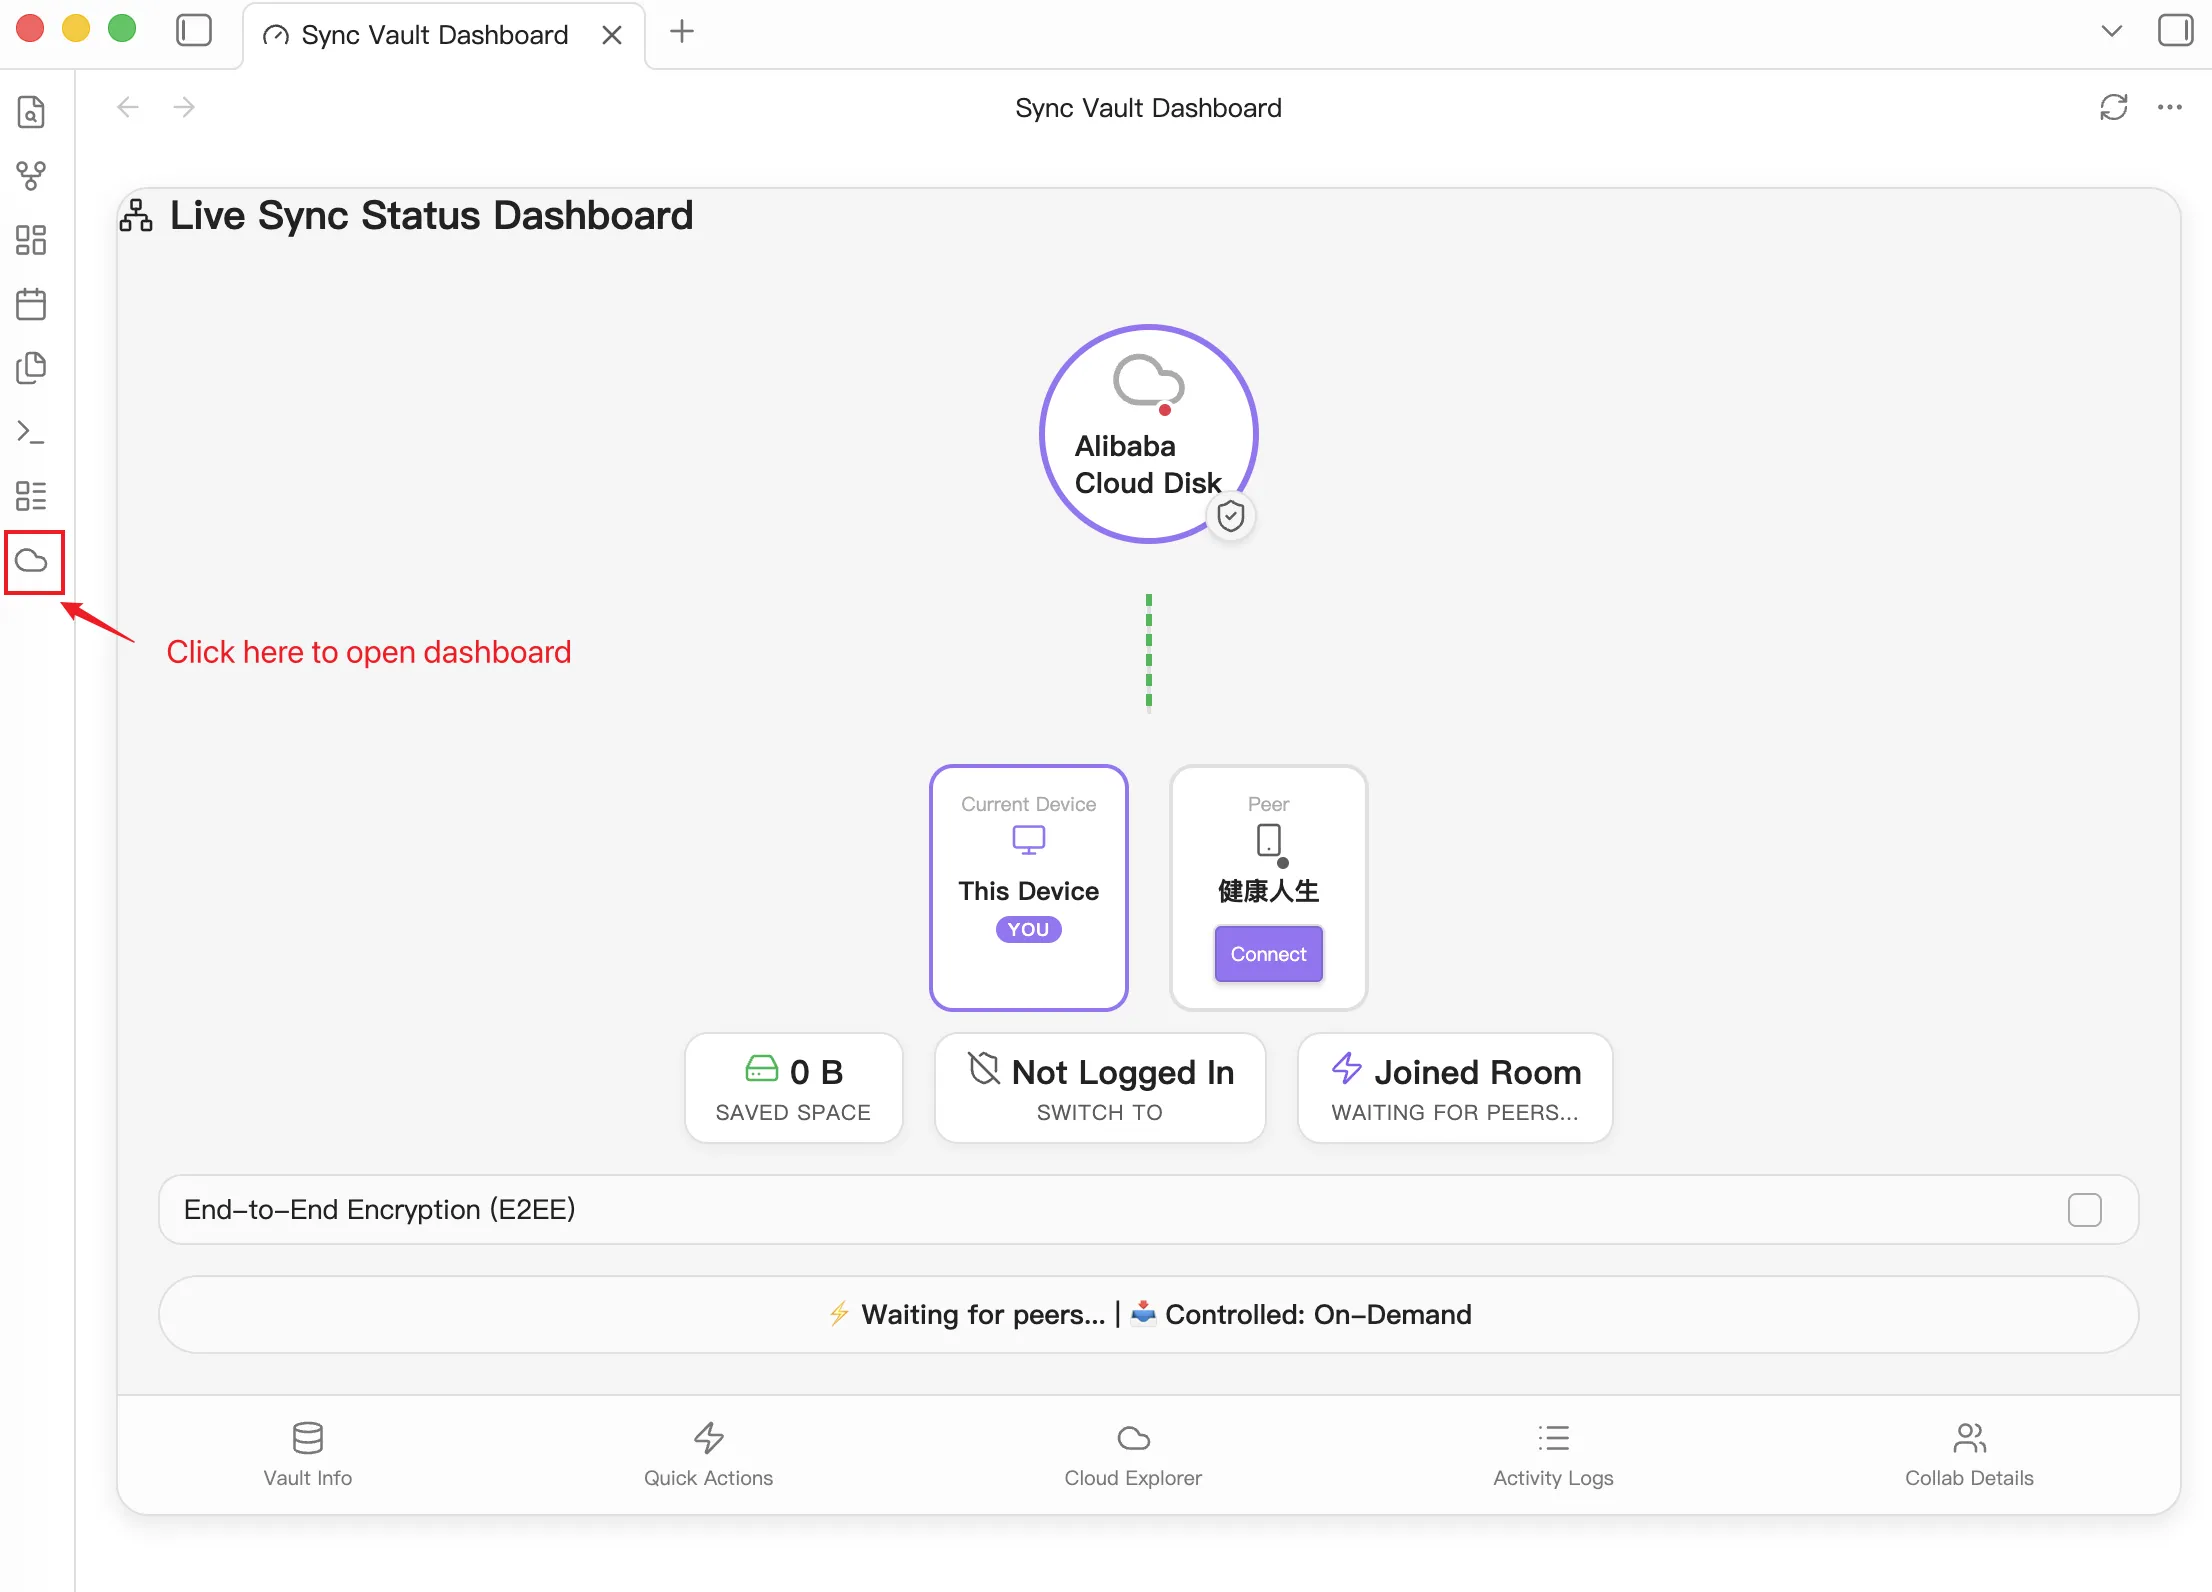
NOTEDashboard Overview:
- Visual Topology: Displays the real-time connection status between your Cloud Storage (e.g., Alibaba Drive), your Current Device, and any connected Peers.
- Status Indicators: Quick view of saved space, login status, and room connectivity.
- Security: Toggle End-to-End Encryption (E2EE) directly from the dashboard.
- Navigation Tabs:
- Vault Info: Detailed statistics about your local vault.
- Quick Actions: Shortcuts for common tasks like manual sync or indexing.
- Cloud Explorer: Browse and manage files directly on your cloud drive.
- Activity Logs: Real-time sync logs and history.
- Collab Details: Manage peer connections and sharing settings.
Explore and Sync Files
Section titled “Explore and Sync Files”To manage your cloud files or trigger synchronization:
- Switch to the ‘Cloud Explorer’ tab at the bottom of the dashboard.
- Browse your vault’s cloud structure.
The explorer’s behavior depends on your sync mode:
- In Restricted Mode, you can manually select files to download or upload.
- In Auto Mode, the dashboard will primarily show synchronization progress and conflicts.
- In P2P Mode (Live Sync), files are synchronized in real-time across connected peers.
MCP Configuration
Section titled “MCP Configuration”Sync Vault supports the Model Context Protocol (MCP), allowing AI tools to interact with your cloud files.
Claude Code CLI
Section titled “Claude Code CLI”Add the configuration in your .claude/mcp.json file (usually located in your user home directory):
{ "mcpServers": { "sync-vault-mcp": { "type": "sse", "url": "http://127.0.0.1:3000/sse" } }}Claude Desktop
Section titled “Claude Desktop”Claude Desktop only supports MCP Servers via STDIO. A bridge is required to connect to the Sync Vault MCP (which uses SSE). We recommend using
sse-bridge.
- Install the bridge:
npm install -g @mcpwizard/sse-bridge - Open Claude Desktop, go to Settings -> Developer, and click the Edit Config button.
- Add the following configuration:
{ "mcpServers": { "sync-vault-mcp": { "command": "npx", "args": [ "@mcpwizard/sse-bridge", "http://127.0.0.1:3000/sse" ] } }}Cursor / Trae
Section titled “Cursor / Trae”Open your Cursor/Trae MCP settings and manually add a new MCP Server.
- Name:
Sync Vault MCP - Type:
SSE - URL:
http://127.0.0.1:3000/sse(default)
{ "mcpServers": { "sync-vault-mcp": { "type": "sse", "url": "http://127.0.0.1:3000/sse" } }}DONECongratulations, enjoy your Sync Vault journey! 🍻